
Did you know that you could make your own surf wax at home? Especially for warm water wax you don´t even need that much and the best: it is all eco-friendly! In this article our guest author Dom Taylor tells us what you need and how to make your own eco-friendly surf wax! We are already keen on trying it out! Here he tells us all the details …
Question: What do the most popular surf wax brands (Mr Zog’s Sex wax, Palmers and Far King) – what do they all have in common? Answer: They all use a paraffin-based surf wax, and by buying these waxes you are supporting the petroleum industry. It doesn’t exactly align with most surfers’ core values of protecting the environment.
There are alternatives to going with the major brands. For instance, have you ever thought about making your own organic wax? You can not only save money in the long-run, but you’ll also be doing your bit for helping the environment. Making your own wax can be challenging, and there’s a bit of a learning curve to get it right, but extremely rewarding. Who knows if you enjoy making it and have a good product, maybe you could even start your own business manufacturing eco wax.
(c) Dominick Taylor
What You Need To Get Started
There are actually just a few essentials you need to start making your own surf wax. For cold water wax, you’ll need to add nature’s own resin from a tree (sap) into the mix. For warm water wax, you’ll just need the following: 3.5 parts beeswax, 1 part coconut oil or fragrant oil. These are the main ingredients and equipment needed:
〰 3.5 parts Beeswax (approx. 525 grams to get started with)
〰 1 part Coconut Oil or Fragrant Oil or 150ml (to give the wax a nice smell)
〰 1 part Tree Resin / Sap or 150ml (for cold water wax only)
〰 4 Small plastic round containers (dessert / cream cheese size containers)
〰 1 Hatchet
〰 1 Plastic cup
〰 1 Staple gun
〰 1 Bean can
The Process
The first step is to get handy with that hatchet/axe, and start chipping away at a pine tree. I do not recommend just picking a random tree, make sure you have permission from the land owner or it’s a tree in your garden that you’re okay to collect the sap from. You’ll want to start by cutting the tree bark in an upward and downward motion with the hatchet/axe. Then, take a plastic cup and tear the top part off (approx. 20mm). Now you want to get the staple gun and staple the plastic cup bottom to the exposed cut area to collect the tree sap. Don’t worry this doesn’t hurt the tree. Once nicely secured to the tree, leave the cup for 24 – 48 hours to collect some lovely sap.
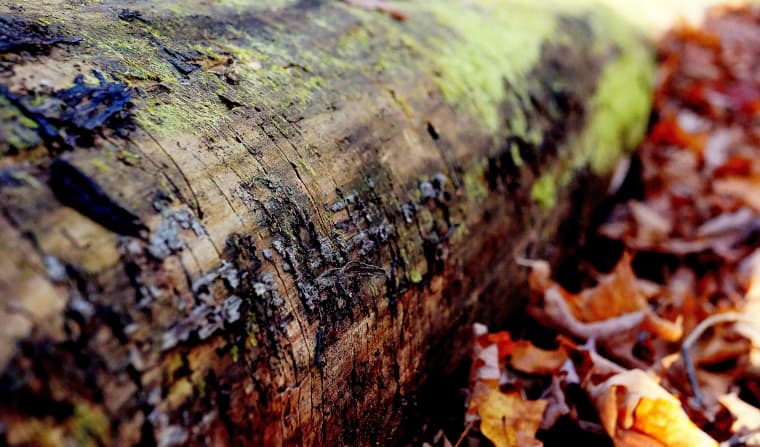
(c) Chloe Benko Prieur
Cooking Time
Once you’ve collected some sap you want to take the hatchet and start breaking up the block of beeswax into small chunks. Then mix all the ingredients: sap, beeswax and coconut oil in the bean can. Then place the lid on the bean can and place it in a pan with some water.
On an outdoor camping stove or similar, bring the water to the boil. At various stages of the heating process, you can check on the mixture by carefully lifting the can lid with BBQ tongs or similar. Stir the mixture until sufficiently liquefied. Then comes the fun part: Carefully, pour the liquid into the small round containers leaving some space for expansion. Leave the liquid to cool at room temperature for 1-2 hours.
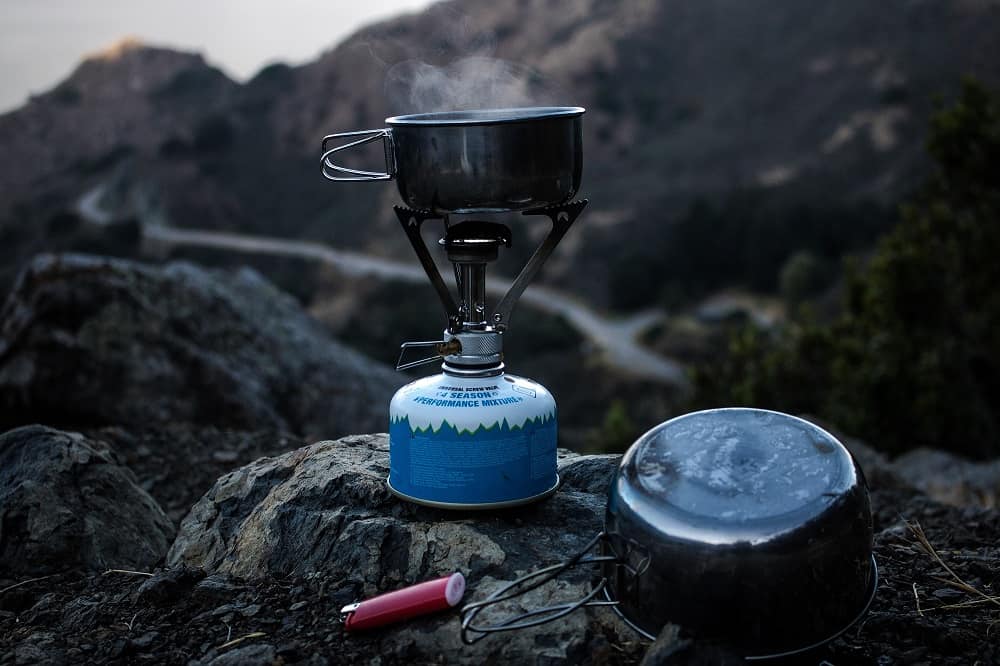
(c) Sage Friedman
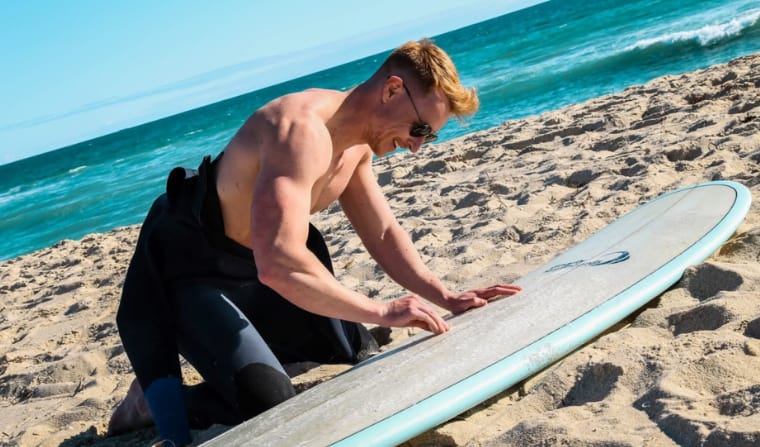
The final step is to take the wax out of the containers, and put it to the test. Start waxing up your board. Not only do you have a nice smelling wax, but it should give you those all essential sticky bumps.
If you’ve ever tried making your own surf wax, how did it go? What did you do differently?
〰
Author Bio:
Dom Taylor is the owner of Shaka Surfs, an eco surf fin online store. Shaka Surf uses only recycled materials to produce its surf fins and features unique and distinctive artwork on the fins. Great for longboards, single fins or thruster setups or these fins can be great touches to brighten up the home.
Fotocredit Header Background: Ivan Ho
1 comment